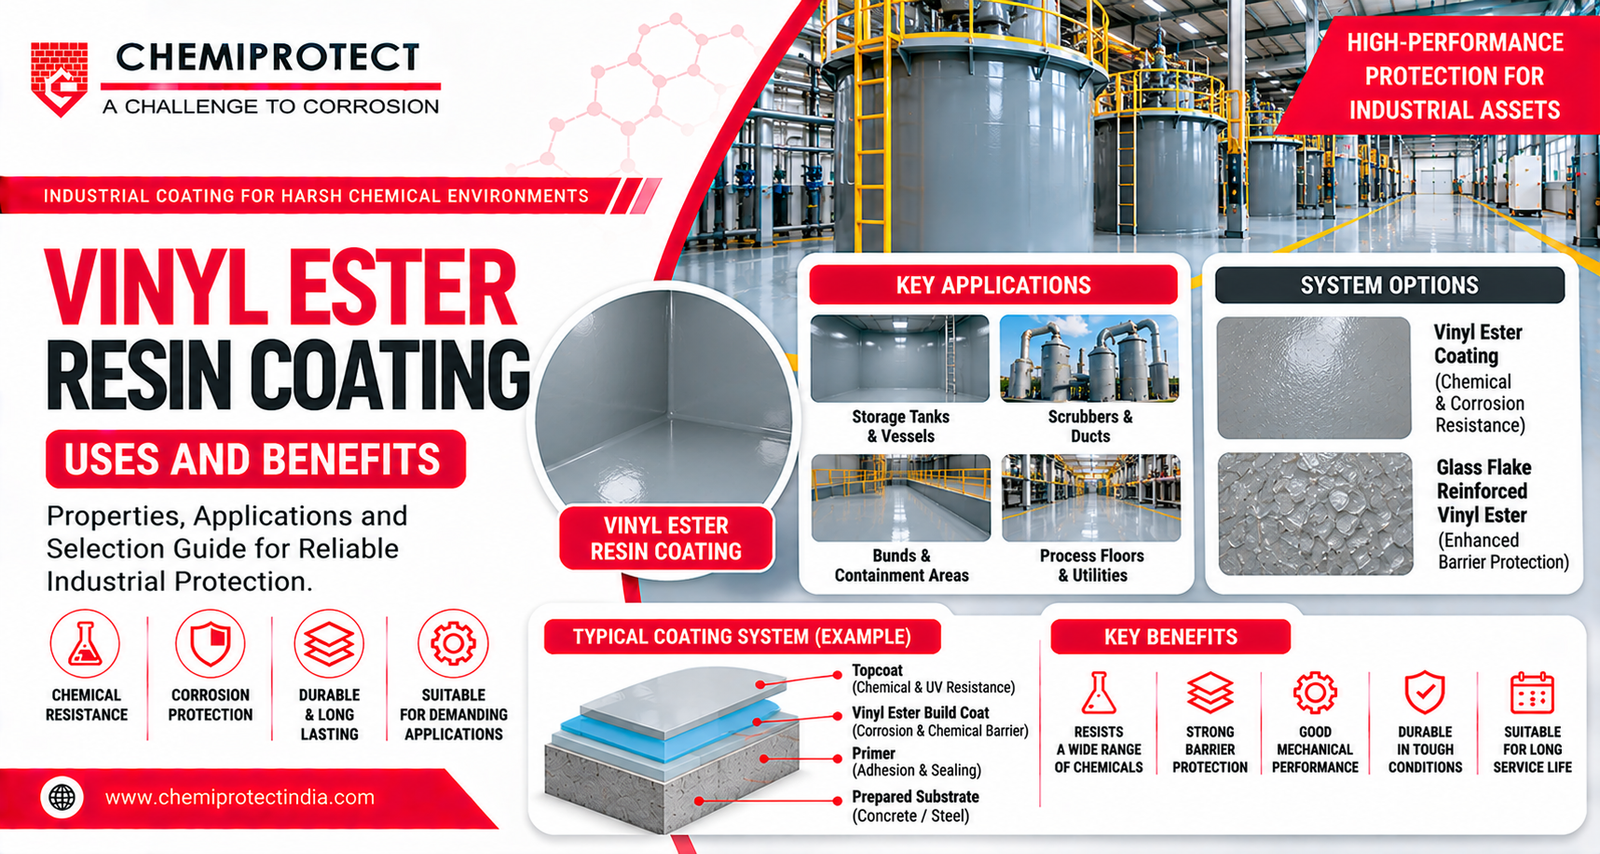
Vinyl Ester Resin Coating: Properties, Benefits and Industrial Uses
Discover vinyl ester resin coating applications,
Laboratory floors must support safe movement, routine cleaning and the activities carried out in the room. In chemical laboratories, they may also face acids, alkalis, solvents, reagents, rinse water and accidental spills. The right finish depends on the substances handled, their concentrations, the likelihood of contact and the cleaning regime. Acid resistant flooring for laboratories should therefore be selected through a risk-based assessment rather than by choosing a generic coating described as chemical resistant. A review of industrial chemical protection solutions can help connect the selected surface system to the actual process environment.
Laboratories vary widely. A quality-control laboratory, research facility, educational chemistry lab and industrial testing room may handle different chemicals and equipment. Map the workstations, storage cabinets, sinks, wash areas, instrument zones and routes used to move samples. Identify where spills are most likely and whether liquids could remain on the floor beneath benches or equipment. The suitability of laboratory flooring systems should be confirmed against the site’s actual operating conditions.
Consider both normal operations and foreseeable incidents. Routine drips may be small but frequent, while a container breakage can create a larger exposure. Cleaning chemicals can be as important as process reagents because they may be used daily. Temperature, hot equipment, rolling stools, dropped glassware and repeated movement of carts should also be included in the assessment.
Prepare a list of chemicals used in each laboratory zone. Include concentration, temperature, contact duration, frequency and cleaning method. Do not assume that a floor resistant to one acid will resist every acid, or that a material suitable for dilute splashes will tolerate concentrated liquid left in place. Mixtures and sequential exposures can also behave differently from individual chemicals.
Ask manufacturers for chemical resistance information that matches the actual conditions. Where the data is incomplete, request technical review or testing before committing to a large installation. Pay attention to the complete system: primer, body coat, topcoat, joints, coves and sealants. A compatible surface material can still fail if the joints or perimeter details are vulnerable.
Seamless resin flooring may be suitable in laboratories where cleanability and reduced jointing are priorities. Epoxy systems are often evaluated for adhesion, durability and a smooth finish, but the exact formulation must be checked against the laboratory’s chemicals. Polyurethane and specialised resin systems may suit particular temperature, impact or cleaning requirements. The finish should be selected for the expected use, not solely for its appearance. Review the available acid-resistant flooring materials against the specified exposure before finalising the design.
Acid-resistant tiles or bricks with compatible chemical-resistant mortars may be considered in areas with more demanding exposure or where a modular lining is preferred. Their performance depends on bedding and joint materials as much as on the tile itself. Evaluate how joints will be cleaned and inspected, and whether the floor needs to remain seamless for the laboratory’s hygiene protocol. Chemiprotect’s [chemical-resistant flooring materials] can be considered as part of a wider technical evaluation.
Laboratory flooring must support safe movement under realistic conditions. A smooth surface may be easier to wipe, but it can become slippery when wet. A heavily textured finish may improve traction but can trap residues and make cleaning difficult. The right balance depends on footwear, likely contamination, cleaning equipment and the movement of carts or stools. Specify the finish with both safety and housekeeping teams.
Colour and appearance can help make spills, dust or damage easier to notice, but visual contrast should not replace inspection procedures. Consider how floor markings, equipment footprints and access routes will be maintained. Avoid detailing that creates unnecessary ledges or dirt traps. Where a laboratory has specific hygiene or contamination-control requirements, confirm that the proposed finish and cleaning process align with those procedures.
Assess the substrate before installation. Concrete should be sound, clean, dry or within the moisture limits stated by the manufacturer, and free from contaminants that can interfere with adhesion. Remove weak material and repair cracks, holes and uneven areas. Confirm that the floor has the required falls and that drains or thresholds are compatible with the selected finish.
Installation should follow a documented sequence with controls for surface preparation, mixing, thickness, environmental conditions and curing. Protect the area from dust and traffic while the system is applied and cured. Inspect the finish for pinholes, missed areas, bubbles, cracks and poor terminations. Keep records of batch numbers, test results and acceptance checks so the laboratory team can manage future repairs.
Develop cleaning instructions that identify approved detergents, disinfectants and tools. Staff should know which chemicals must be neutralised or removed according to the laboratory’s safety procedures, and which cleaning agents are unsuitable for the floor. A spill response plan should be based on the substance and its safety data, not on an assumption that the floor can tolerate unlimited contact.
Inspect high-risk locations regularly, including bench edges, sinks, chemical storage areas, doorways and joints. Repair chips, cracks or local coating damage promptly using compatible materials. If the floor repeatedly discolours or softens, review the exposure history and material suitability. Recoating without understanding the cause can conceal a continuing compatibility problem.
Ask the laboratory manager which chemicals are used, how often spills occur and what cleaning methods are mandatory. Ask the facilities team about substrate condition, drainage, moisture and planned equipment loads. Ask the supplier for written compatibility information, installation requirements, curing time and maintenance guidance. These questions create a shared basis for comparing systems.
Finally, consider the laboratory’s future use. New analytical methods, reagents or cleaning protocols may change the exposure profile. A floor should be selected with reasonable flexibility, but any new chemical should still trigger a compatibility review. Document the approved chemical list and keep it with the maintenance records. This simple practice helps prevent a future process change from silently exceeding the flooring system’s design limits.
Common mistakes include treating every laboratory as having the same chemical exposure, overlooking cleaning agents, and selecting a highly textured finish without considering residue removal. Another risk is assuming that a floor suitable for brief splashes can withstand prolonged contact.
Do not install a floor before confirming substrate moisture and condition. Avoid unapproved cleaning products and make sure spill-response procedures are based on the chemicals handled in the laboratory.
The right laboratory floor is selected by understanding the chemicals, cleaning methods, safety needs and mechanical demands of each room. A compatible system, sound substrate and disciplined maintenance plan help protect the facility over time. For industrial chemical-protection material options, consult the Chemiprotect Engineers website and assess the requirements of each laboratory zone.
When used with chemical resistant masonry units and the proper membrane MIPRO-VE will protect concrete and steel sub base from chemical attacks and physical abuse. MIPRO-VE is silica filled vinyl ester mortar supplied in two parts .
Discover vinyl ester resin coating applications,
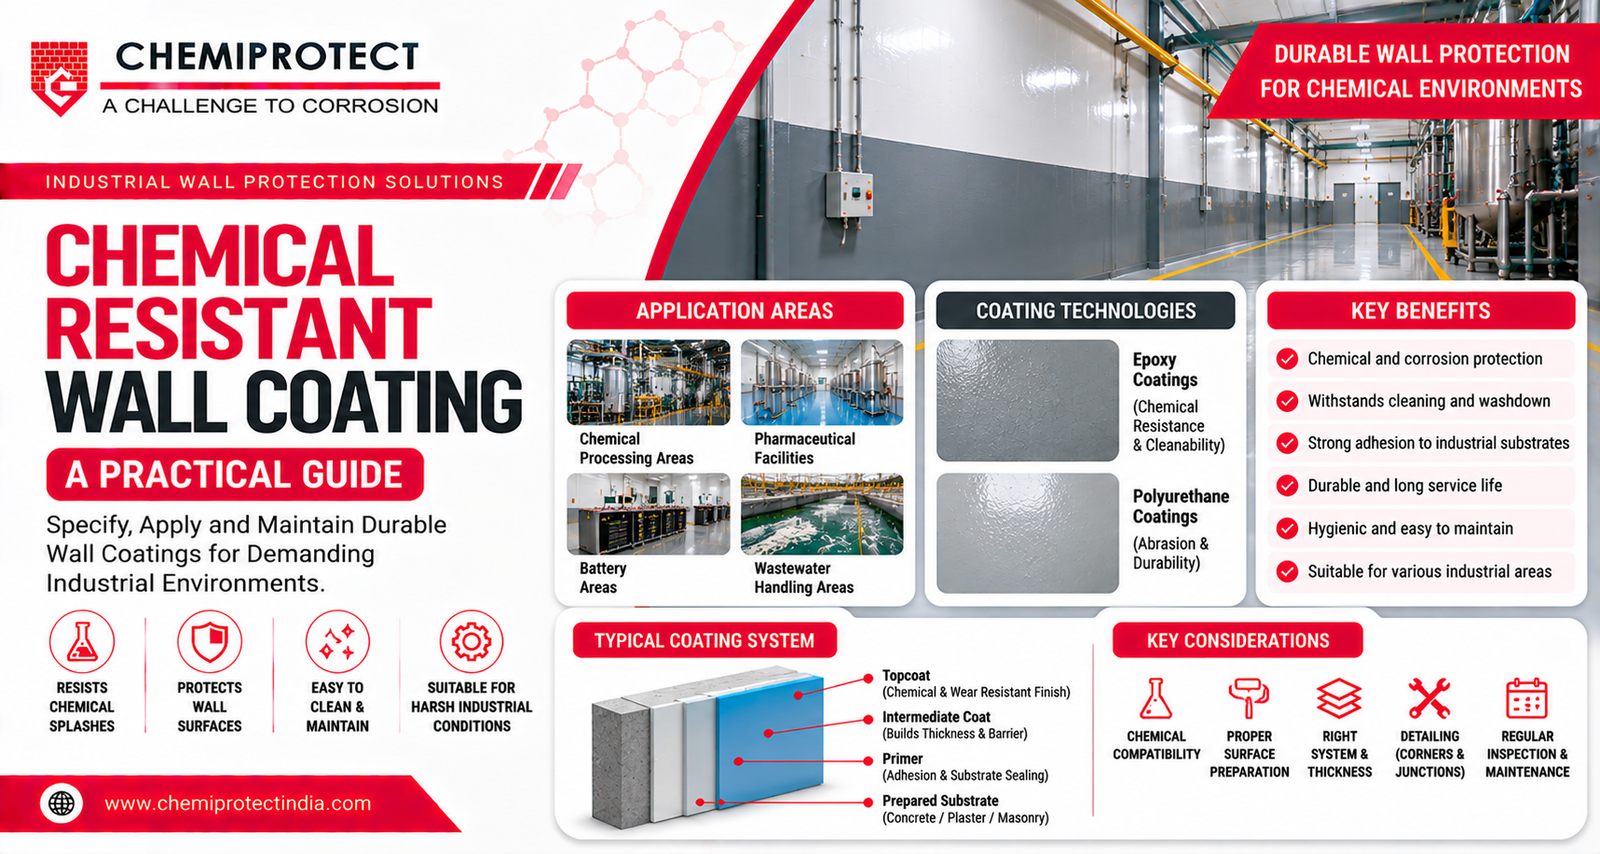
Learn to specify chemical resistant wall
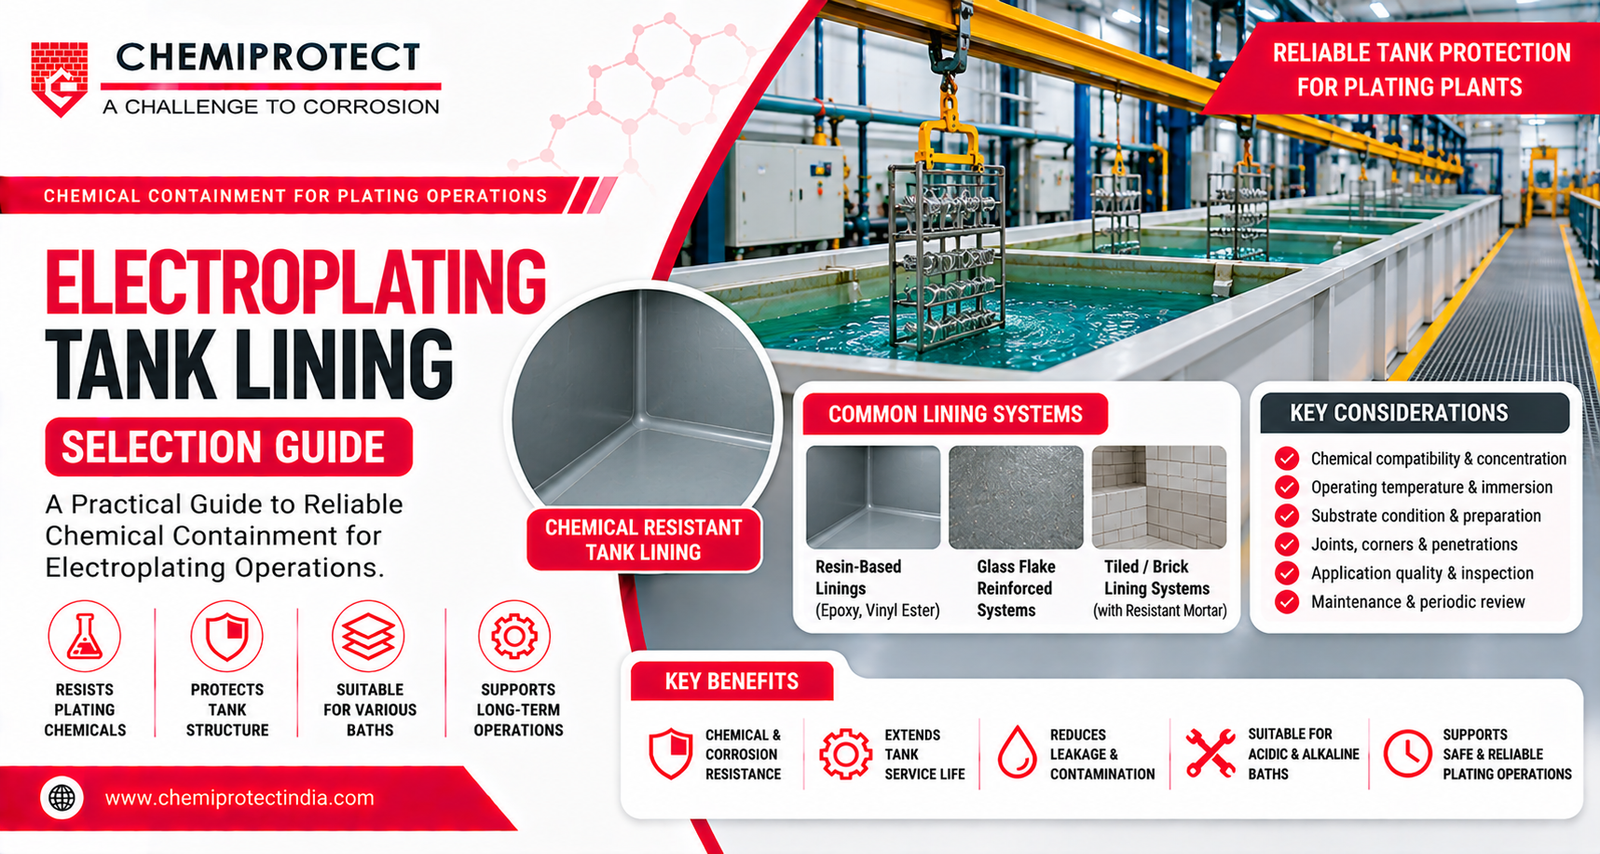
Understand electroplating tank lining, chemical compatibility,
Connect Now