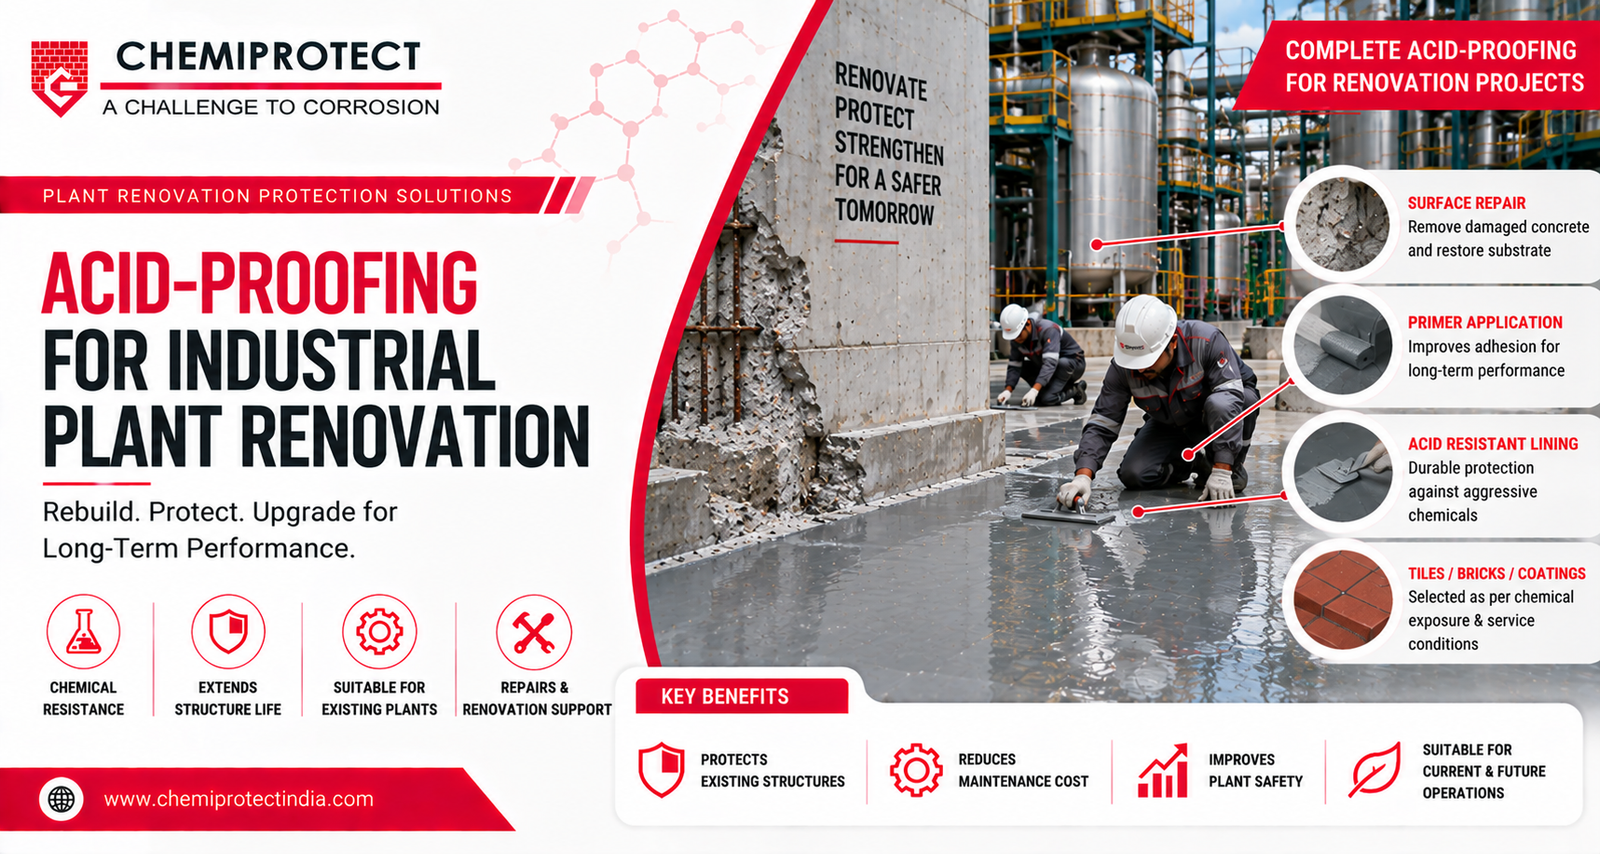
Acid-Proofing for Industrial Plant Renovation
Why Acid-Proofing Needs a Renovation-Specific Approach
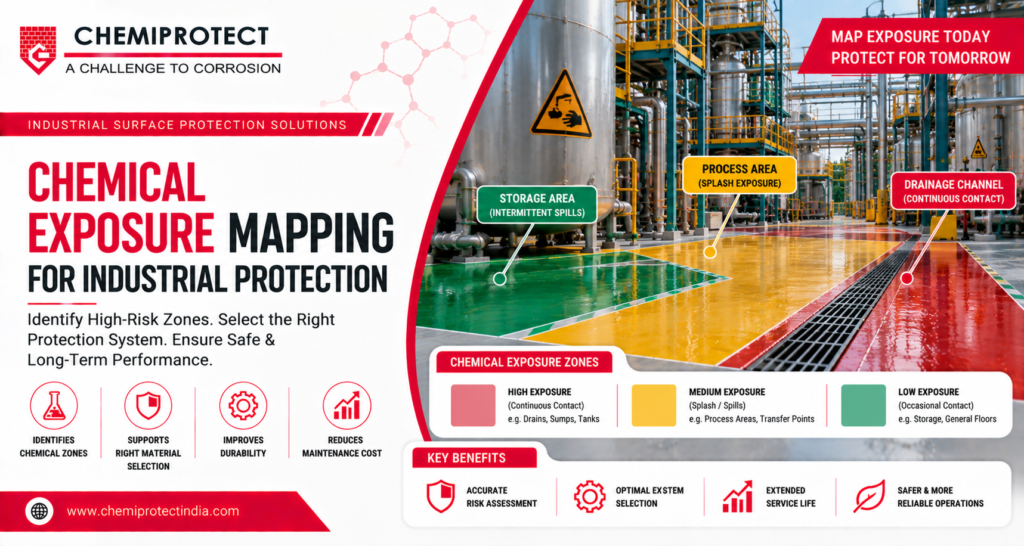
Industrial facilities rarely expose every surface to chemicals in exactly the same way. One section may handle continuous liquid contact, another may experience occasional splashes, while a nearby floor may only encounter diluted cleaning agents. Treating the entire plant as one chemical environment can therefore lead to an unnecessarily broad or poorly matched protection specification.
Chemical exposure mapping is a structured method of identifying where chemicals are present, how they contact surfaces, and how severe the exposure is likely to be. Creating an industrial chemical exposure assessment before selecting a coating, lining, flooring, or membrane helps connect the protection system to the actual operating environment.
A single production area can contain several different exposure conditions. A chemical storage zone may involve spills and prolonged contact, a process floor may face repeated wash-down, and a maintenance area may encounter occasional solvent exposure. Each condition can place different demands on the protective surface.
Mapping makes these differences visible. Instead of specifying one generic protective material across an entire facility, engineers can identify zones and match the system to the relevant chemical, concentration, temperature, exposure duration, and mechanical environment.
This approach also supports maintenance planning. Areas repeatedly identified as high-exposure zones can receive closer inspection, while lower-risk areas can be maintained according to their actual service conditions.
Begin by listing every chemical that can contact industrial surfaces. Include raw materials, process chemicals, intermediate products, finished-product residues, cleaning chemicals, wastewater, and chemicals used during maintenance. Safety data sheets, process documentation, storage records, and operator input can help build the initial inventory.
Chemical identity alone is not enough. Record normal and maximum concentrations, operating temperature, and any temperature peaks. A material may perform differently when exposed to a concentrated solution or elevated temperature, so these variables should be included in the exposure map.
Some areas experience more than one chemical during the operating cycle. For example, production may introduce one chemical while cleaning introduces another. Where chemical composition changes, document the sequence and likely duration of each exposure rather than assigning the area a single chemical label.
The same chemical can create different demands depending on how it reaches the surface. Map areas exposed to direct immersion, splash, intermittent spills, condensation, vapour, wash-down, or persistent wetting. Contact duration should be recorded because repeated short exposure is different from continuous immersion.
Splash zones can occur around pumps, valves, filling points, transfer lines, chemical dosing equipment, and process connections. Spill-prone areas should be identified separately because the surface may experience concentrated chemicals even when normal operating exposure is limited.
Tanks, sumps, pits, channels, and other areas holding liquid continuously should be marked as immersion zones. These locations can require a different protective design from floors that only experience occasional contact.
Chemical exposure should not be mapped in isolation. Industrial floors and process surfaces can also experience forklift traffic, abrasion, impact, vibration, thermal cycling, moisture, and pressure washing. These conditions can influence the choice of resin, lining thickness, facing material, jointing system, and surface finish.
For example, a chemically aggressive floor with heavy vehicle movement has different requirements from a chemically exposed wall with no traffic. Identifying these overlapping stresses helps prevent a chemically compatible but mechanically unsuitable system from being specified.
Where relevant, chemical-resistant flooring and lining systems should therefore be evaluated against both chemical and physical service conditions.
Once the information is collected, divide the facility into practical exposure zones. The boundaries can follow process areas, equipment groups, drainage patterns, chemical handling points, or changes in operating conditions.
A project may classify areas as low, moderate, high, or severe exposure, provided the definitions are clearly documented. Another approach is to use categories such as dry, splash, spill, wet-process, intermittent immersion, and continuous immersion. The purpose is not to create a universal classification but to make the site’s differences clear.
Pay attention to transitions between zones. Drains, trenches, thresholds, equipment bases, pipe penetrations, corners, joints, and changes in floor level can experience concentrated exposure. These details should be included on the map because they often require specific treatment.
After the zones are established, compare each exposure profile with suitable protective systems. Depending on the environment, the options may include epoxy coatings, polyurethane systems, glass-flake linings, acid-resistant bricks or tiles, chemical-resistant mortars, membranes, or combined lining assemblies.
Selection should be based on the complete system rather than a product label. Check chemical compatibility, expected temperature, immersion requirements, substrate condition, film thickness, abrasion, impact, joints, curing, and maintenance requirements.
Technical information from Chemiprotect’s industrial protection resources can be used alongside the site’s exposure map to develop a more application-specific specification.
Exposure mapping is especially useful when an existing plant is being renovated. Older facilities may have changed chemicals, equipment, drainage, production volumes, and cleaning practices since the original protection system was installed. The current exposure profile may therefore differ from the original design assumptions.
A current map can identify areas where the old system is no longer aligned with service conditions. It can also help prioritize substrate repairs, replacement of failed linings, and upgrades to drainage or detailing before new protection is installed.
The exposure map should remain useful after installation. High-exposure zones can be assigned more frequent inspections, while lower-exposure areas can follow a different maintenance interval. Record observed cracking, blistering, delamination, joint deterioration, staining, or other changes against the mapped zones.
Over time, this creates a practical feedback loop. Inspection findings can be compared with exposure conditions to identify recurring problem areas and determine whether operating conditions, detailing, or the protective system needs to be reviewed.
One mistake is mapping only the primary process chemical. Cleaning agents, wastewater, accidental spills, and maintenance chemicals can create additional exposure. Another is considering concentration but ignoring temperature or duration of contact.
A further mistake is treating the map as a drawing exercise without involving plant operators. People who work with the process can often identify recurring spills, wash-down patterns, chemical transfer points, and operational changes that are not obvious from engineering drawings.
Chemical exposure mapping provides a structured way to understand where and how industrial surfaces are challenged. By documenting chemicals, concentration, temperature, exposure pattern, mechanical stresses, and vulnerable details, engineers can divide a facility into meaningful zones and evaluate protection requirements more precisely.
The result is a specification based on actual service conditions rather than a one-size-fits-all assumption. For industrial facilities planning acid-proofing and chemical protection solutions, combining exposure mapping with substrate assessment and technical system evaluation can provide a clearer foundation for long-term surface protection.
Chemical exposure mapping is a structured process of identifying where chemicals contact industrial surfaces and assessing the severity of exposure before selecting protective systems.
It helps divide a facility into different exposure zones so coatings, linings, and flooring can be matched to actual chemical, temperature, and operating conditions.
The inventory should record chemical type, concentration, operating temperature, cleaning chemicals, wastewater, and changing exposure conditions.
Typical exposure zones include splash areas, spill zones, immersion zones, wet-process areas, and continuous immersion locations.
It helps prioritize inspections, track recurring defects, identify high-risk areas, and improve long-term maintenance planning based on actual service conditions.
When used with chemical resistant masonry units and the proper membrane MIPRO-VE will protect concrete and steel sub base from chemical attacks and physical abuse. MIPRO-VE is silica filled vinyl ester mortar supplied in two parts .
Why Acid-Proofing Needs a Renovation-Specific Approach
Industrial floors, tanks, process areas, and
Industrial concrete can deteriorate when exposed
Connect Now